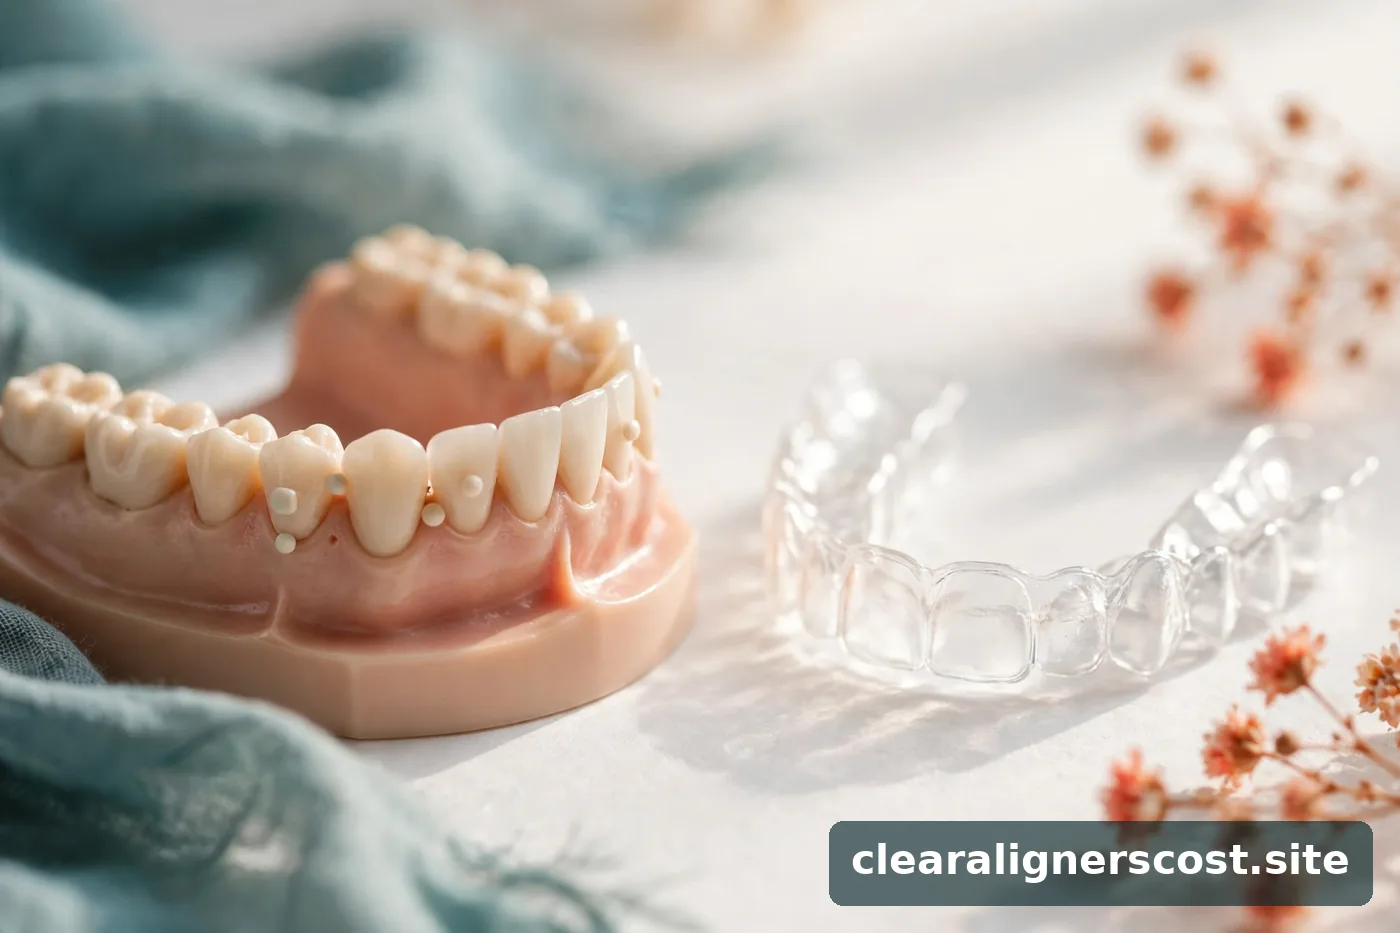
If your provider mentions “attachments,” they’re talking about the small tooth-colored bumps bonded to specific teeth during Invisalign treatment — sometimes called buttons. They’re one of the main reasons modern Invisalign can handle complex cases that early clear aligners couldn’t: they give the smooth plastic trays something to grip, letting them push, pull, and rotate teeth with precision.
Most patients are surprised by two things: how invisible the attachments actually are, and how quickly they stop noticing them. Here’s what they are, why your plan may include them, and what placement day and removal day feel like.
Key takeaways
- **Attachments** are tiny tooth-colored composite bumps bonded to specific teeth — they give aligners grip for difficult movements like rotations.
- They’re **barely visible** in normal conversation and most patients stop noticing them within days.
- **IPR** (slenderizing) often accompanies attachments: a fraction of a millimeter of enamel is polished between crowded teeth to create space.
- Placement takes minutes per tooth during your tray-delivery appointment; removal and polishing happen when treatment ends.
- At-home aligner brands generally **don’t use attachments** — one reason they’re limited to milder cases.
The short answer
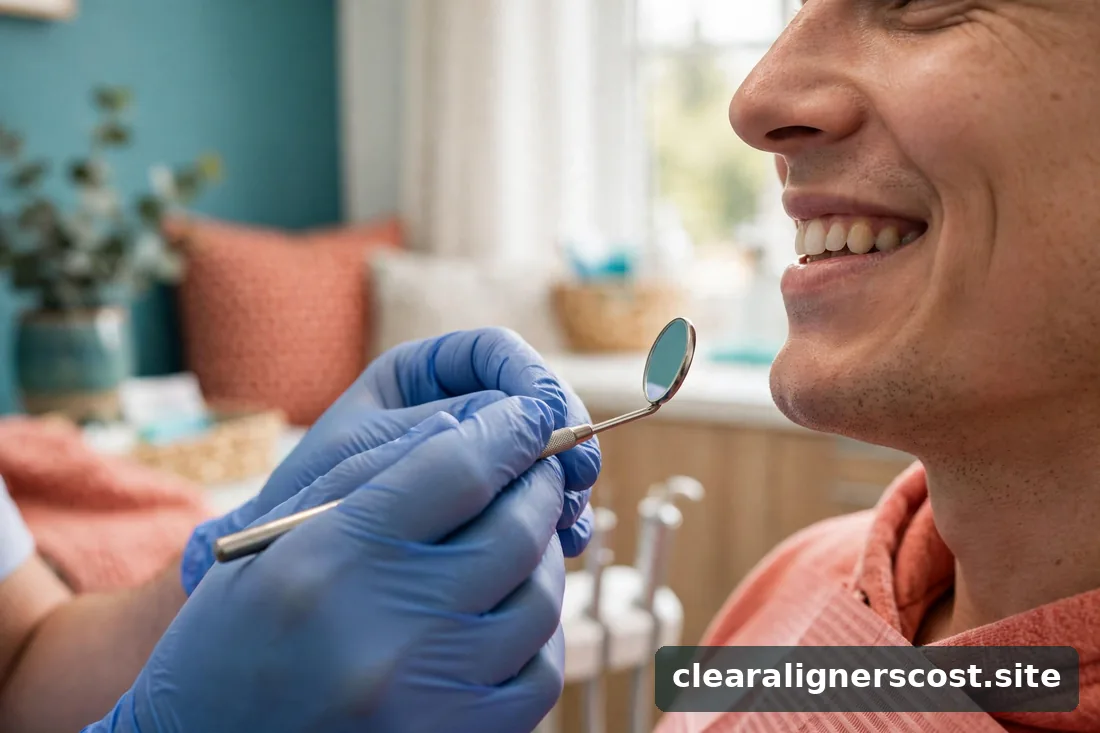
Invisalign attachments are small, tooth-colored shapes of dental composite bonded to the front of specific teeth. They act as handles: the aligner tray is molded with matching wells, and the attachment-tray interface lets the plastic apply targeted force — rotating a tooth, pulling it down, or tipping it — that a smooth tray alone couldn’t achieve reliably.
Not every case needs them. Simple spacing or mild crowding may need none; moderate-to-complex cases commonly need several. Your ClinCheck plan specifies exactly which teeth get them and why — ask your provider to show you on the 3D simulation.
What attachments actually are
The material is the same dental composite used for tooth-colored fillings — a putty-like resin that’s shaped onto the tooth, hardened with a curing light, and polished smooth. Key facts:
- Color-matched. The composite is shaded to blend with your enamel. In normal light at conversation distance, most people won’t notice them — even when you’re not wearing your trays.
- Small. Typically a few millimeters across — think a grain of rice or smaller, shaped as a rectangle, triangle, or ellipsoid depending on the movement needed.
- Temporary. They’re bonded for the duration of treatment and removed at the end, with the enamel polished back to smooth.
- Painless to place and remove. No drilling, no anesthesia. Placement is a bonding procedure; removal is polishing.
The shapes aren’t random — each geometry is engineered for a specific force. A horizontal rectangle might anchor a tooth being pulled downward; a beveled shape might drive rotation. Your provider doesn’t choose them aesthetically; the ClinCheck software prescribes them biomechanically.
Why they matter: the physics
A clear aligner is a smooth plastic shell. Pushing a smooth shell against a smooth tooth works fine for simple tipping movements — but try to rotate a round tooth with a smooth shell and the tray just slides. Try to extrude (pull down) a short tooth and there’s nothing to grab.
Attachments solve this by creating an undercut — a ledge the tray can push against. This is genuinely what expanded Invisalign’s capabilities over the years: movements that once required braces (significant rotations, extrusions, complex bite corrections) became achievable with aligners largely because of engineered attachment geometries.
This is also a meaningful differentiator between in-office and at-home treatment. At-home aligner brands generally don’t use attachments — there are no in-office bonding appointments in a remote model (brand comparison on attachment requirements) — which is one structural reason they’re limited to milder cases. If your case needs attachments, it needs in-office care.
What they look and feel like
Looks: with trays in, attachments are essentially invisible — hidden under the plastic. With trays out, they’re small tooth-colored bumps. Up close in a mirror you’ll see them; across a dinner table, almost certainly not. They can pick up slight staining from coffee, tea, or curry over time, just like natural enamel does — your provider can polish them at checkups.
Feel: for the first few days, your tongue will find every single one — tongues are relentless texture inspectors. Most patients report forgetting about them within a week. They don’t hurt; the oddest sensation is usually the tray clicking over them when you seat or remove aligners, which quickly becomes routine.
Eating: attachments stay on while you eat (trays come out, attachments stay in). Very sticky or hard foods can theoretically dislodge one — if an attachment pops off, call your provider rather than worrying: it’s a quick re-bond at your next visit, but the corresponding tooth isn’t getting its programmed force until it’s replaced.
IPR: the companion procedure
IPR (interproximal reduction) — sometimes called slenderizing or stripping — frequently accompanies attachments in crowded cases. The provider polishes a tiny amount of enamel (tenths of a millimeter) from between crowded teeth to create the space needed for alignment.
What patients want to know:
- It doesn’t hurt. Enamel has no nerve endings. Most patients feel vibration and pressure, nothing more — no anesthesia needed.
- It’s conservative. We’re talking fractions of a millimeter per contact — far less than the enamel’s thickness. It’s been a standard orthodontic technique for decades, with braces as well as aligners.
- It’s planned, not improvised. Your ClinCheck specifies where and how much IPR occurs, and it’s typically done once at the start (sometimes staged across early appointments).
- Cost: when itemized separately, IPR commonly runs $50–$300 — though many providers bundle it into the treatment fee. Confirm whether yours does.
IPR and attachments often appear together because they solve the same problem from two sides: IPR creates space, attachments direct force. A crowded case frequently needs both.

Placement day: what to expect
Attachments are placed at your tray-delivery appointment — the visit where you receive your first sets of aligners. The procedure per tooth takes a few minutes:
- The tooth surface is cleaned and conditioned.
- A template tray (made from your ClinCheck design, with wells where attachments go) is filled with composite and seated over your teeth.
- A curing light hardens the composite through the template.
- The template is removed, excess material is cleaned up, and the attachments are polished.
You’ll leave wearing your first active trays, clicking over the fresh attachments. Expect the trays to feel snug — that’s the attachments doing their job. If a particular attachment feels sharp to your tongue, mention it before you leave; thirty seconds of additional polishing fixes it.
Living with attachments
Tray insertion and removal takes slightly more deliberate technique with attachments — you’ll feel the trays engage the bumps. Most patients develop a rhythm within days: seat from the back teeth forward, remove from the back molars with a gentle rocking motion. Never yank trays off from the front; that’s how attachments get stressed.
Cleaning around them matters a bit more. Plaque loves texture, and attachments add texture. Brush thoroughly around each bump — your hygienist will thank you, and so will your enamel when the attachments come off.
If one comes off, don’t panic and don’t try to fix it yourself. Note which tooth, keep wearing your trays (they’ll still work, just less efficiently on that tooth), and call your provider for a re-bond appointment. A missing attachment for a week is a minor inefficiency; a missing attachment for two months can mean that tooth falls behind the plan.
Staining is cosmetic and manageable. If your attachments pick up color from coffee or tea, your provider can polish them at regular checkups. This is normal maintenance, not damage.
Removal day
When treatment ends, attachments come off — usually at the same appointment where you transition to retainers. The provider uses a polishing bur to remove the composite and smooth the enamel underneath. It takes a few minutes per tooth, it’s painless, and your teeth look and feel like themselves again — which, after months of tiny bumps, feels surprisingly novel.
Some providers charge separately for attachment removal and cleanup (commonly in the $50–$200 range when itemized (hidden-cost tables)); most bundle it. Like everything else in the quote, confirm upfront whether it’s included — it’s a small line item, but surprise line items are the theme of this site’s cost guides.
One thing removal day makes obvious: the attachments were doing real work. Patients are often surprised by how different their bite feels once the trays and attachments are gone — that’s the finished result, and it’s what the retainers now protect. Our treatment process guide covers the retainer stage that follows.
FAQ
Do Invisalign attachments hurt?
Placement and removal are painless — no drilling or anesthesia. You may notice pressure when trays click over new attachments for the first few days, which fades quickly.
Are attachments visible?
Barely. They’re tooth-colored and a few millimeters in size. With trays in they’re hidden; with trays out they’re noticeable only up close. Most people you’re talking to won’t see them.
How long do attachments stay on?
For the duration of active treatment — they’re removed when you finish and transition to retainers.
What happens if an attachment falls off?
Keep wearing your trays and call your provider for a re-bond. The tooth won’t get its full programmed force until the attachment is replaced, so don’t wait months.
Do at-home aligners use attachments?
Generally no — attachment placement requires in-office bonding appointments, which remote-only models don’t offer. It’s one reason at-home brands are limited to milder cases, as our at-home vs. in-office comparison explains.
Is IPR safe for my enamel?
IPR removes only fractions of a millimeter — well within safe limits — and has been standard in orthodontics for decades. Your provider plans the exact amounts in your ClinCheck before touching a tooth.
This is general information, not medical advice — talk to your dentist or orthodontist about your situation.