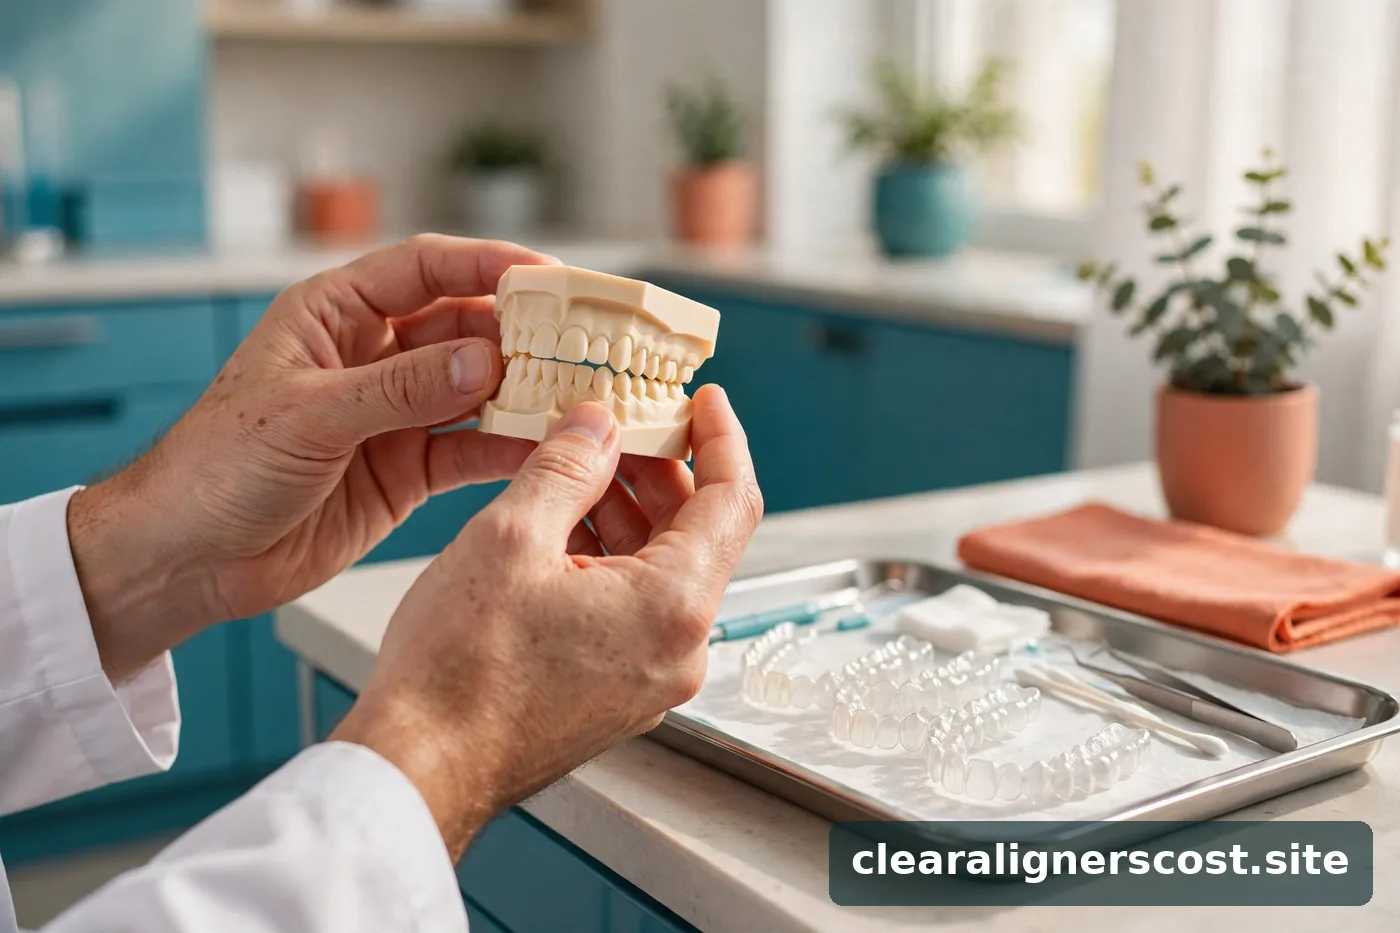
Invisalign treatment follows a predictable sequence: consultation → records and 3D scan → ClinCheck digital plan → attachments/IPR → tray wear with checkups → refinements if needed → retainers for life (step-by-step aligner process overview). A typical case runs 12–18 months of active treatment, with checkup visits every 6–8 weeks instead of the monthly tightening appointments braces require.
Knowing the sequence in advance does two things: it removes the anxiety of the unknown, and it shows you exactly where patients most often go off track (spoiler: it’s tray wear compliance and skipping retainers). Here’s each stage, what actually happens, and how long it takes.
Key takeaways
- Invisalign runs in 7 stages: consult, scan, ClinCheck plan approval, attachments/IPR, tray wear, refinements, and lifetime retainers.
- You’ll wear each set of trays **20–22 hours per day**, changing to a new set every 1–2 weeks as directed.
- **Refinements are normal** — a significant share of patients need an extra round of trays to finish the job.
- Checkups happen roughly every **6–8 weeks**, far less often than braces adjustments.
- Treatment doesn’t end when the trays do: **retainers** hold your results for life.

The short answer
Your Invisalign journey starts with a consultation to confirm you’re a candidate, followed by a 3D digital scan of your teeth. Your provider then designs a ClinCheck — a 3D simulation showing every stage of tooth movement — which you review and approve. Small tooth-colored attachments may be bonded to specific teeth, and slenderizing between teeth (IPR) may create space. Then you wear each set of aligner trays 20–22 hours daily, switching sets every 1–2 weeks, with brief checkups every 6–8 weeks. If teeth don’t track exactly as planned, a refinement round of additional trays closes the gap. When the final tray comes out, retainers take over — indefinitely.
Step 1: Consultation and candidacy
Most orthodontists offer a free or low-cost initial consultation. This is a two-way interview: the provider assesses whether your case suits clear aligners, and you assess the provider.
What the provider evaluates:
- Case complexity. Mild-to-moderate crowding, spacing, and bite issues are Invisalign’s sweet spot. Severe bite problems or major rotations may need braces instead — a good provider will say so.
- Oral health baseline. Active gum disease, untreated cavities, or failing dental work must be addressed before aligners begin. Aligners over unhealthy gums is a non-starter.
- Your compliance profile. This one is rarely stated bluntly, but it matters: Invisalign only works if you wear it. Providers can usually tell whether a patient will manage 20–22 hours daily.
What you should evaluate:
- Ask how many Invisalign cases the provider completes per year — experience with your specific type of case matters more than the brand name.
- Ask what’s included in the quoted fee: refinements, retainers, replacement trays, whitening. Get it in writing.
- Ask which Invisalign tier they’re recommending (Express, Lite, Moderate, Comprehensive) and why.
If you’re quoted, our clear aligner cost guide helps you sanity-check the number before you commit.
Step 2: Records and the 3D scan
Once you commit, the provider takes diagnostic records: digital X-rays, photographs of your teeth and bite, and a 3D intraoral scan (commonly with an iTero scanner — a wand that maps your teeth in minutes, no goopy impression molds for most patients).
These records serve two purposes: they give the provider the raw geometry to design your treatment, and they create the “before” baseline everything is measured against. The scan is also what makes the next step possible.
Step 3: ClinCheck — your digital treatment plan
ClinCheck is Invisalign’s 3D treatment-planning software, and it’s the most underappreciated part of the process. Your provider maps out the entire tooth movement sequence — every tray, every millimeter — and generates a 3D animation showing your teeth moving from current state to projected final result.
Why this step deserves your attention:
- You get to preview the outcome. Watch the simulation carefully. This is your moment to say “I’d like that gap closed completely” or “can the midline be straighter?” — before a single tray is manufactured.
- You approve the plan. Trays are fabricated from this digital design. Changes after manufacturing mean new trays, new cost, new waiting.
- It reveals the provider’s skill. A thoughtful ClinCheck shows staged movements, planned attachments, and realistic timelines. Ask your provider to walk you through it — how they explain it tells you a lot about how they’ll manage your case.
Plan design typically takes 1–3 weeks after your scan, plus manufacturing and shipping of your first trays.
Step 4: Attachments and IPR
At your tray-delivery appointment, the provider may place attachments — tiny tooth-colored composite “buttons” bonded to specific teeth. These give the aligners grip points to execute difficult movements like rotations and extrusions. They’re barely visible, they’re removed and polished off at the end of treatment, and they’re one of the main reasons Invisalign can handle more complex cases than early generations could. (Our full explainer: Invisalign attachments.)
IPR (interproximal reduction) — slenderizing — is the other common prep step: the provider removes a fraction of a millimeter of enamel between crowded teeth to create space for movement. It sounds dramatic; in practice it’s quick, painless (enamel has no nerves), and measured in tenths of millimeters.
Neither step is needed for every case, but both are routine. If your plan includes them, they’re done at the start, not mid-treatment.
Step 5: Wearing the trays
This is the long middle — and where treatment succeeds or fails. The rules are simple and non-negotiable:
- Wear time: 20–22 hours per day. Out only for eating, drinking anything but water, and brushing. Every hour below the target slows tooth movement.
- Change schedule: every 1–2 weeks as your provider directs. Newer protocols trend toward weekly changes; your ClinCheck specifies the plan.
- Checkups: every 6–8 weeks. Brief visits to confirm tracking — the provider checks that teeth are following the plan, hands you the next batches of trays, and addresses issues. Far less chair time than braces.
- Hygiene discipline. Brush after every meal before reinserting trays. Trays trap whatever’s on your teeth against them for hours — skip brushing and you’re incubating cavities under plastic.
The compliance reality: research and clinical observation consistently suggest a significant share of Invisalign patients — estimated around 30–40% — don’t maintain the recommended daily wear time (on compliance and its cost consequences). The pattern is familiar: a business lunch becomes an afternoon without aligners, a weekend stretches the habit. The cumulative effect is real — teeth move slower, trays stop fitting, and paid refinement rounds follow. Set phone reminders for reinsertion if your lifestyle involves long meals out. It’s the cheapest insurance in the whole treatment.
Wondering how long your specific case might take? Our timeline guide breaks it down by case complexity.

Step 6: Refinements
A refinement is an additional set of aligners ordered when teeth haven’t moved exactly as planned — either mid-treatment or after the original series completes. This is not failure; it’s one of the most normal parts of orthodontics. A meaningful share of patients need at least one refinement round.
When refinements are free: Invisalign Comprehensive plans generally include refinements within the original treatment timeframe. Lite and Moderate plans include limited rounds.
When they cost extra: if you’re on a lower tier that needed Comprehensive-level work, if non-compliance caused the shortfall, or if your contract simply doesn’t include them — extra rounds commonly run $500–$1,500+. Each round also adds weeks to the timeline while new trays are designed and manufactured.
The takeaway: clarify refinement terms in writing before treatment starts. “Unlimited refinements” should mean exactly that, with the conditions spelled out.
Step 7: Retainers — the part that never ends
When the last active tray comes out, your teeth are straight — and immediately want to drift back. Teeth shift throughout life, with or without prior orthodontics. Retainers are what hold your result.
What to expect:
- Immediate transition: you’ll move straight from the final aligner into retainers — often the same day. There’s no gap.
- Retainer types: clear Vivera retainers (Invisalign’s brand, sold in sets), Essix-style clear retainers, Hawley retainers (wire + acrylic), or bonded permanent retainers. Your provider will recommend based on your case.
- Wear schedule: typically full-time for the first months, then nightly — indefinitely. “Nightly for life” is the honest prescription.
- Recurring cost: clear retainers wear out every 1–2 years ($100–$800 per set depending on type); budget $200–$400/year indefinitely. Over 20 years, that’s $4,000–$8,000 in retainer costs alone — the lifetime expense nobody quotes at the consultation.
Patients who skip retainers consistently see relapse — teeth drifting back toward their original positions within months to a few years. The most expensive retainer is the orthodontic treatment you have to repeat. Our retainer cost guide covers types, prices, and replacement schedules in full.
Where treatment goes off track
The failure modes are few and predictable:
- Wear-time drift. The #1 cause of stalled treatment. Trays that don’t fit anymore are a symptom, not the problem — the problem was the weeks of 14-hour days before they stopped fitting.
- Lost or damaged trays. Replacements run $100–$300 per tray and take days to arrive. Always keep the previous set as a backup — if you lose the current one, wear the last one so teeth don’t relapse while you wait.
- Skipped checkups. Six to eight weeks is already infrequent; stretching it further means tracking problems compound silently.
- DIY adjustments. Never trim, file, or modify a tray yourself. An ill-fitting tray is a message to your provider, not a craft project.
- Quitting retainers. The slow-motion version of failure — everything relapses over years instead of weeks.
Every one of these is preventable, and every one is more expensive to fix than to avoid.
FAQ
How long does each Invisalign stage take?
Consultation to first trays: typically 3–6 weeks (records, ClinCheck design, manufacturing). Active treatment: 12–18 months for most cases. Refinements: add weeks to months. Retainers: ongoing.
How often do I see the orthodontist during Invisalign?
Roughly every 6–8 weeks for brief tracking checkups — significantly less often than the monthly adjustments braces require.
Do I really need to wear them 20–22 hours a day?
Yes. That figure isn’t a suggestion — it’s the wear time the tooth-movement plan was engineered around. Consistently fewer hours slows movement, extends treatment, and increases the odds of paid refinements.
What happens at the final appointment?
Attachments are removed and polished off, final records are taken, and you transition directly into retainers — usually the same day.
Can I speed up the process?
Consistent wear is the only reliable accelerator. Devices and techniques marketed as speed boosters have limited evidence behind them; your provider can advise what’s credible. What definitely slows treatment: poor compliance, missed checkups, and lost trays.
This is general information, not medical advice — talk to your dentist or orthodontist about your situation.